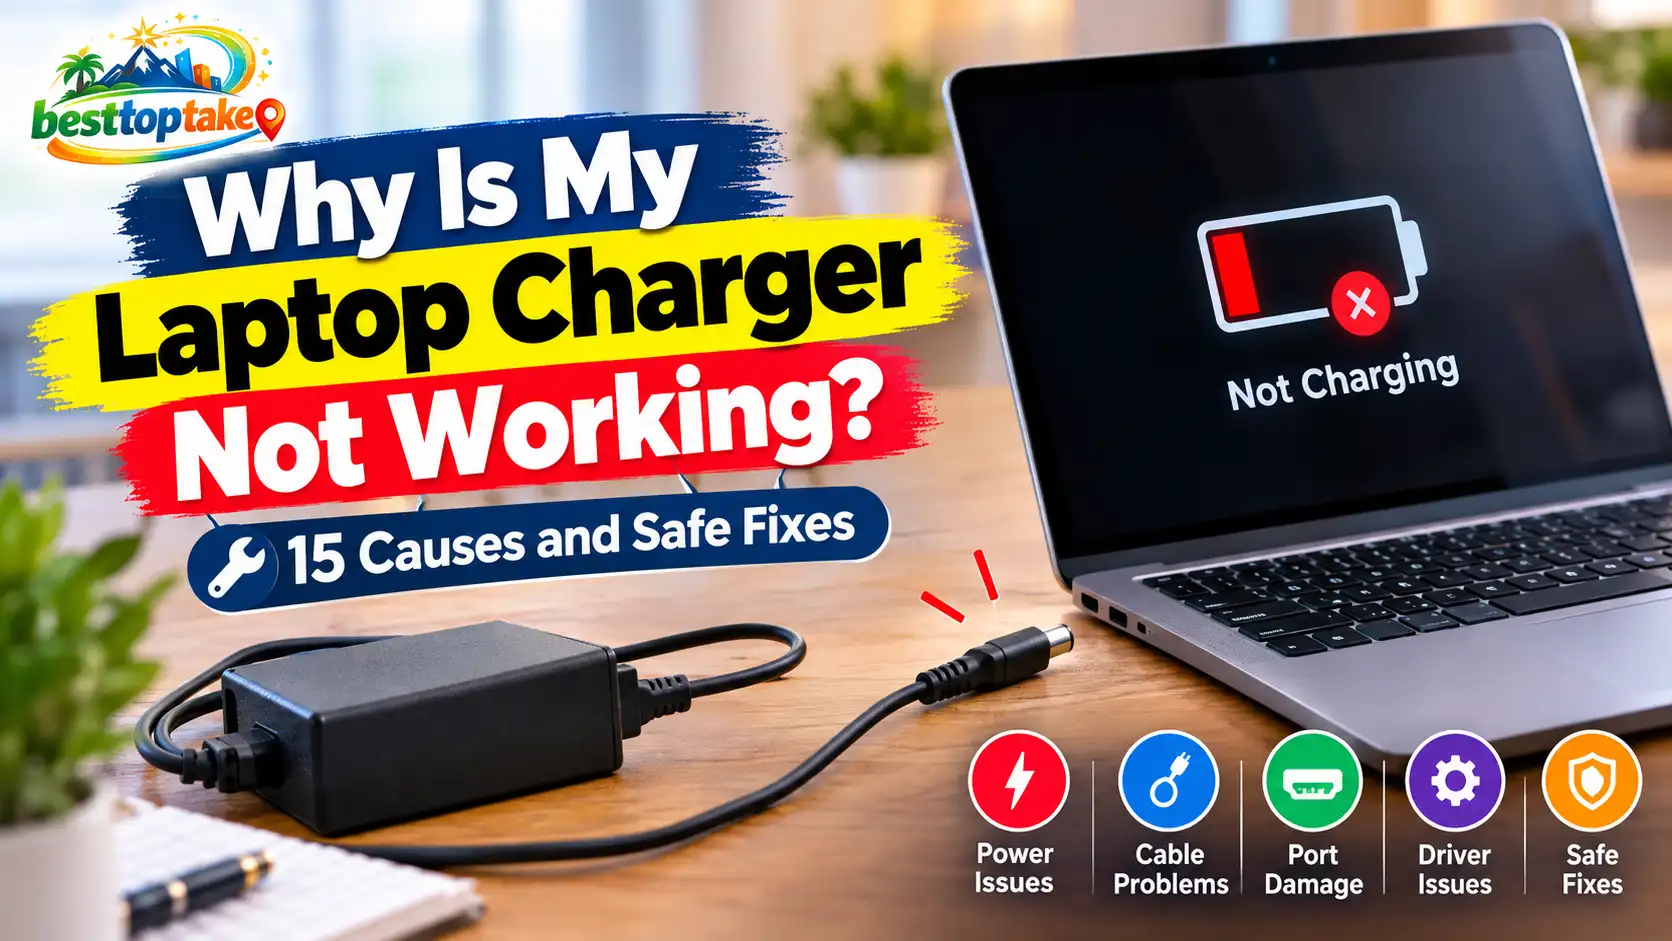
A laptop charger can stop working because of something as simple as a loose connection or as serious as a damaged charging port. Common causes include a dead wall outlet, broken cable, faulty power adapter, dirty charging port, incompatible charger, insufficient wattage, worn-out battery, overheating, or a software problem.
Start with the basic checks before buying a new charger. Try another wall outlet, reconnect every part of the charger, inspect the cable, and plug the charger directly into the laptop instead of using a dock or hub. These steps often reveal whether the problem is with the charger, battery, or laptop itself.
This guide will help you identify the exact symptom, safely test the most likely causes, and decide whether you need a replacement charger or professional repair.
Quick Answer: Why Is My Laptop Charger Not Working?
Your laptop charger may not be working because:
- The wall outlet has no power.
- One of the charger connections is loose.
- The cable or adapter is damaged.
- The charging port contains dust or debris.
- The laptop’s charging port is loose or broken.
- The charger is incompatible with the laptop.
- The charger does not provide enough wattage.
- You are using the wrong USB-C port or cable.
- The battery has failed.
- The laptop is too hot or too cold.
- Smart charging or a battery limit is enabled.
- A battery driver, BIOS, or firmware issue is interfering with charging.
- A USB-C dock, hub, or monitor is limiting power delivery.
- The laptop has an internal charging-circuit problem.
Microsoft notes that a laptop may charge slowly or fail to charge when the charger is incompatible, underpowered, connected to the wrong USB-C port, or used with an unsuitable cable. Apple and Dell also recommend checking the outlet, cable, adapter, port, and battery before arranging a repair.
Try These Quick Checks First
Before changing drivers or opening diagnostic tools, complete these basic tests:
- Shut down the laptop.
- Disconnect the charger from the laptop and wall.
- Wait approximately 30 seconds.
- Reconnect each charger component firmly.
- Try a different wall outlet.
- Remove any extension lead, surge protector, dock, or USB hub.
- Connect the charger directly to the laptop.
- Inspect the cable, adapter, connector, and charging port.
- Try another supported charging port if the laptop has several USB-C ports.
- Confirm that the charger meets the laptop’s wattage requirements.
- Leave a completely drained laptop connected for at least 30 minutes.
- Turn the laptop on and check whether the charging icon appears.
Google recommends leaving a Chromebook connected for at least 30 minutes when its battery may be fully discharged. Dell and HP also recommend disconnecting external devices and performing a power reset when basic charging checks do not solve the problem.
Identify Your Exact Charging Problem
The phrase “charger not working” can describe several different problems. Identifying the exact symptom will make troubleshooting faster.
No Charging Light or Battery Icon
This usually means the laptop is not detecting incoming power. Possible causes include:
- A dead wall outlet
- A loose connection
- A damaged cable
- A failed adapter
- An incorrect USB-C port
- A broken charging port
- An internal power problem
Start by testing another outlet and reconnecting every part of the charger.
Plugged In but Not Charging
The laptop recognizes the charger, but the battery percentage does not increase. This can happen because of:
- A battery charging limit
- Insufficient charger wattage
- A worn-out battery
- Excessive power consumption
- A battery driver problem
- High battery temperature
- A charger identification issue
A laptop that stops at 60%, 80%, or 95% may be following a battery-protection setting rather than experiencing a hardware failure.
Charger Light Is On but the Laptop Is Not Charging
A light on the adapter shows that the adapter is receiving power. It does not prove that the correct amount of power is reaching the battery.
The output cable, connector, charging port, battery, or internal charging circuit may still be faulty. An incompatible replacement charger may also power its own indicator without being recognized by the laptop.
Charger Light Turns Off When Connected to the Laptop
This symptom deserves extra caution. If the adapter light works until you connect it to the laptop, possible causes include:
- A shorted charging port
- A bent connector pin
- A damaged DC jack
- A faulty adapter that fails under load
- A motherboard charging-circuit fault
Disconnect the charger if the light repeatedly turns off when connected. Avoid forcing or repeatedly moving the connector, especially if the laptop or adapter becomes hot.
Battery Is Stuck at 0%
A battery that remains at 0% may be deeply discharged, disconnected, badly degraded, or no longer able to accept a charge.
Leave the laptop connected to a verified charger for at least 30 minutes. If the laptop works while plugged in but immediately turns off when unplugged, the battery is probably the main suspect.
Laptop Charges Only at a Certain Angle
This strongly suggests a physical connection problem. The damage may be in:
- The cable near the connector
- The charger plug
- The charging port
- A USB-C connector
- The port’s internal solder connection
Do not keep bending or positioning the cable to make it work. This can worsen the damage and may create an electrical or heat risk.
Laptop Charges Only When Turned Off
The charger may be supplying enough power to charge the battery when the laptop is idle, but not enough to run the laptop and charge it simultaneously.
This commonly happens with:
- Low-wattage chargers
- Phone chargers used with laptops
- Under-rated USB-C cables
- Power loss through a dock
- Heavy gaming or video-editing workloads
- A failing adapter
Laptop Will Not Turn On, but the Charging Light Is On
A charging light confirms that some power is reaching the laptop. It does not confirm that the battery, display, power button, memory, or motherboard is functioning normally.
Allow a completely drained laptop to charge before trying again. Then disconnect accessories and perform a power reset. If the laptop still does not start, the problem may not be the charger.
Battery Percentage Drops While Plugged In
Your laptop may be consuming more power than the charger can provide. This often happens during gaming, video rendering, software compilation, or other demanding tasks.
Apple explains that a Mac can show “Not Charging” when its power source is weak or the computer is using more power than the adapter supplies. Microsoft gives similar guidance for Windows laptops that discharge while connected.
15 Common Reasons a Laptop Charger Stops Working
1. The Wall Outlet Has No Power
Test the outlet with a lamp, phone charger, or another known-working device. In countries where wall outlets have individual switches, make sure the switch is on.
Connect the laptop charger directly to the wall during testing. A failed extension lead, power strip, travel adapter, or surge protector can make a working charger appear faulty.
2. One of the Connections Is Loose
A traditional laptop charger may have three separate connection points:
- Wall outlet to AC cable
- AC cable to adapter brick
- Adapter connector to laptop
Disconnect and reconnect each point firmly. Some removable AC cables can look connected even when they are not fully seated in the adapter.
3. The Charger Cable Is Damaged
Inspect the entire cable, especially near the adapter brick and laptop connector. Look for:
- Cuts or cracks
- Exposed wire
- Sharp bends
- Flattened sections
- Burn marks
- Discoloration
- Loose connector ends
- Areas that become unusually hot
A cable can also break internally without visible external damage. Charging that starts and stops when the cable moves is a strong warning sign.
4. The Power Adapter Has Failed
A failed adapter may show no indicator light, make unusual sounds, overheat, or stop working after a power surge.
Unplug the adapter immediately if you notice:
- A burning smell
- Smoke
- Crackling
- Repeated sparking
- Melted plastic
- Extreme heat
Never open a sealed power adapter. Components inside can retain dangerous electrical energy even after the adapter is unplugged.
5. The Charging Port Is Dirty
Dust and lint can prevent a charger from making full contact with the port. This is particularly common with USB-C ports.
Turn off the laptop before inspecting the port. Use compressed air carefully or a soft, dry, non-metal brush. Do not insert a needle, screwdriver, wet cotton swab, or other metal object.
Microsoft specifically recommends checking the correct USB-C charging port and using compressed air to remove debris when a USB-C laptop is not charging.
6. The Charging Port Is Loose or Broken
A healthy connector should remain reasonably stable when inserted. A port may be damaged if:
- The connector moves excessively.
- Charging stops when the cable moves.
- The port has been pushed into the laptop.
- Internal pins look bent.
- The connector repeatedly falls out.
- The area around the port becomes hot.
A loose port usually requires hardware repair. Continuing to use it can damage both the laptop and charger.
7. You Are Using the Wrong Charger
A connector that fits is not automatically compatible. The charger must meet the laptop’s electrical and communication requirements.
Check:
- Output voltage
- Maximum wattage
- Connector type and size
- USB-C Power Delivery support
- Manufacturer compatibility
- Cable power rating
Barrel-type chargers may use plugs that look almost identical but have different dimensions, voltages, or identification pins.
8. The Charger Wattage Is Too Low
A laptop designed for a 65W, 90W, or higher-wattage adapter may not charge correctly from a 20W or 30W phone charger.
An underpowered charger may:
- Charge only while the laptop is off
- Charge very slowly
- Trigger a low-power warning
- Maintain the current percentage without increasing it
- Allow the battery to drain under heavy use
- Fail to charge at all
Use the wattage recommended for your exact laptop model. Microsoft advises using a compatible USB-C Power Delivery charger with the recommended wattage for Surface devices and warns that lower-wattage adapters may charge slowly or not at all.
9. The USB-C Port Does Not Support Charging
Not every USB-C port accepts power input. Some ports support data transfer or display output but cannot charge the laptop.
Look for a charging, battery, or lightning symbol near the port. When unsure, consult the laptop manual or manufacturer’s specifications.
10. The USB-C Cable Does Not Support Enough Power
USB-C cables do not all have the same capabilities. A cable may support data without charging, or it may charge phones but not carry enough power for a laptop.
Apple warns that some USB-C cables support data transfer but do not charge a Mac. Microsoft also recommends using the charger and cable supplied with the computer when troubleshooting USB-C charging.
11. The Battery Is Worn Out
Laptop batteries lose capacity as they age. A severely degraded battery may charge slowly, stop charging, show an incorrect percentage, or fail to power the laptop after the charger is removed.
Signs of battery failure include:
- The laptop turns off immediately when unplugged.
- The percentage remains at 0%.
- The battery is not detected.
- Battery life has become extremely short.
- The battery casing or laptop body is swelling.
Microsoft advises stopping use immediately if a battery expands beyond the laptop’s enclosure. Do not press, puncture, or attempt to flatten a swollen battery.
12. The Laptop or Battery Is Too Hot
Charging may temporarily slow down or stop when the battery temperature is outside its preferred range.
Turn off demanding applications, move the laptop to a hard and ventilated surface, and allow it to return to normal room temperature. Do not cool a laptop in a refrigerator or freezer, as condensation can cause additional damage.
13. Smart Charging or a Battery Limit Is Enabled
Many modern laptops intentionally stop charging before 100% to reduce long-term battery wear.
Depending on the brand, the feature may be called:
- Smart Charging
- Optimized Charging
- Adaptive Charging
- Conservation Mode
- Battery Health Charging
- Custom Charge Threshold
Microsoft states that Smart Charging can hold the battery at a lower level instead of charging to 100%. Lenovo Conservation Mode may stop some models near 55% or 60%, while Chromebook charge-limit features can hold supported devices near 80%.
14. A Driver, BIOS, or Firmware Problem Is Interfering
Charging involves communication between the charger, battery, operating system, and laptop firmware. A corrupted battery driver or outdated firmware may cause incorrect charging information or adapter-detection problems.
Install updates only from Windows Update, macOS Software Update, or the laptop manufacturer’s official support page. Avoid random third-party driver-download websites.
15. The Internal Charging Circuit Has Failed
If multiple known-compatible chargers fail, the fault may be inside the laptop.
Possible internal problems include:
- A damaged DC-in board
- A broken USB-C power controller
- A motherboard charging-circuit failure
- Liquid damage
- A short circuit
- A disconnected internal battery
These problems generally require professional diagnosis.
How to Fix a Laptop Charger That Is Not Working
Follow these steps in order. Test the laptop after each one.
Step 1: Shut Down the Laptop
Save your work and turn the laptop off completely. Disconnect external monitors, storage devices, docking stations, and other accessories.
This reduces power demand and removes devices that may be interfering with charging.
Step 2: Test the Wall Outlet
Connect another working electrical device to the same outlet. If that device does not work, use a different wall outlet.
During testing, avoid extension leads, travel adapters, and power strips.
Step 3: Reconnect Every Part of the Charger
Disconnect the charger from both the laptop and wall. If the AC cable detaches from the adapter brick, remove and reconnect it as well.
Wait approximately 30 seconds before reconnecting everything firmly.
Step 4: Inspect the Charger
Run your fingers gently along the unplugged cable and visually check it for damage. Stop using it if you find exposed conductors, melted sections, burn marks, or a loose plug.
Do not repair a damaged high-voltage cable with ordinary tape and continue using it.
Step 5: Inspect and Clean the Charging Port
Turn the laptop off and shine a light into the port. Remove loose dust with compressed air or a soft, dry brush.
Do not force the connector. If it does not enter smoothly, confirm that you are using the correct charger.
Step 6: Use the Correct USB-C Port
Try another USB-C port only if the laptop documentation confirms that it supports charging. Connect the charger directly rather than through a hub or display.
Step 7: Confirm Charger Compatibility
Check the charger label and laptop requirements.
| Specification | What to Check |
|---|---|
| Voltage | Must meet the laptop manufacturer’s requirements |
| Wattage | Should meet the recommended laptop wattage |
| Connector | Must fit correctly without force |
| USB-C standard | Charger should support the required Power Delivery profile |
| Cable rating | Cable must carry the necessary power |
| Brand support | Charger should be approved or clearly compatible with the model |
Do not guess compatibility from connector shape alone.
Step 8: Allow the Laptop and Adapter to Cool
Disconnect the charger if it is unusually hot. Place the laptop and adapter on a dry, hard surface with good airflow.
Reconnect them only after they have returned to a normal temperature.
Step 9: Perform a Power Reset
The exact method varies by manufacturer, but a common procedure is:
- Turn off the laptop.
- Disconnect the charger.
- Remove the battery if it is designed to be removable.
- Disconnect external devices.
- Hold the power button for 15 to 30 seconds.
- Reconnect the battery and charger.
- Turn the laptop on.
Dell recommends holding the power button for approximately 15 to 20 seconds during a hard reset, while HP provides similar reset instructions for charging problems. Always check the manufacturer’s instructions for your exact model.
Step 10: Restart the Operating System
A full restart can clear temporary power-management errors. Do not simply close the lid and reopen it, as that may only put the laptop to sleep.
Step 11: Check the Battery Limit
Open your manufacturer’s battery utility and look for charging thresholds.
Examples include:
- Lenovo Vantage
- MyASUS
- Dell Power Manager
- HP Power Manager
- Surface app
- macOS Battery settings
- Chromebook Power settings
Temporarily disable the limit only when you genuinely need a full charge. Keeping a battery below 100% can be an intentional health-protection feature.
Step 12: Reinstall Windows Battery Devices
On a Windows laptop:
- Right-click the Start button.
- Open Device Manager.
- Expand Batteries.
- Right-click Microsoft AC Adapter and select Uninstall device.
- Right-click Microsoft ACPI-Compliant Control Method Battery and select Uninstall device.
- Restart the laptop.
Windows should detect and reinstall the devices automatically.
Do not uninstall unrelated system components. Create a restore point first if you are uncomfortable making device-level changes.
Step 13: Install Official Updates
Check for:
- Windows or macOS updates
- BIOS or UEFI updates
- Laptop firmware updates
- USB-C or Thunderbolt firmware
- Manufacturer power-management updates
Keep the laptop connected to stable power during a BIOS update. Follow the manufacturer’s instructions exactly.
Step 14: Test a Known-Compatible Charger
Use a charger that is confirmed to support your exact laptop model.
For a barrel connector, confirm the voltage, polarity, connector, and wattage. For USB-C, confirm Power Delivery support, charger output, and cable rating.
If another compatible charger works normally, the original charger is probably faulty. If neither charger works, the battery, port, or laptop hardware becomes more likely.
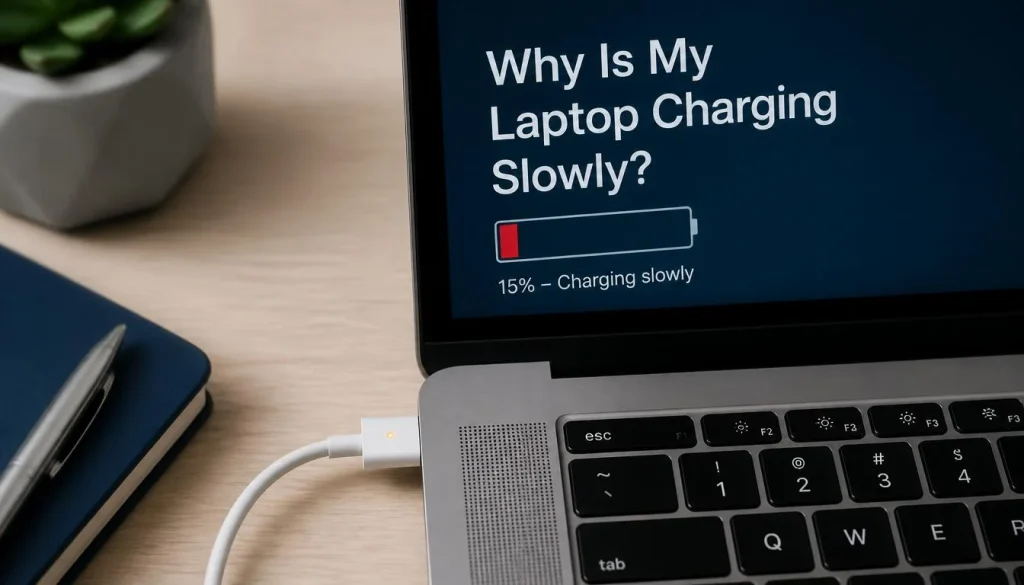
Why Is My Laptop Charging Slowly?
Slow charging is usually caused by insufficient power, high laptop usage, cable limitations, or battery conditions.
The Charger Is Underpowered
Compare the charger’s wattage with the laptop’s recommended input. A small phone charger may establish a connection without supplying enough power for normal laptop charging.
The Laptop Is Using Too Much Power
Gaming, 3D rendering, video editing, external monitors, maximum screen brightness, and high-performance mode can increase power consumption.
Close demanding applications and check whether the battery begins gaining percentage.
The Cable Is Limiting Power
Replace the USB-C cable with one rated for the charger’s full output. A powerful adapter cannot deliver its maximum wattage through an unsuitable cable.
Power Is Being Lost Through a Dock
A dock may reserve some power for connected devices or have a lower pass-through limit. Connect the charger directly to the laptop to compare the charging speed.
The Battery Is Hot or Near Its Charging Limit
Charging often slows as a battery approaches full capacity. It may also slow or pause when the battery becomes hot.
Why Is My Laptop Not Charging Through a USB-C Dock, Hub, or Monitor?
USB-C docks, hubs, and monitors do not always deliver the full output of the connected charger.
Possible reasons include:
- The dock does not support USB-C Power Delivery.
- The charger is connected to the wrong dock port.
- The dock’s pass-through limit is below the laptop’s requirement.
- Connected devices are using part of the available power.
- The host cable does not support sufficient wattage.
- The monitor’s USB-C output is too low.
- The dock requires a separate power adapter.
- Dock firmware is outdated.
- The laptop’s USB-C port does not accept charging.
Disconnect the dock and plug the charger directly into the laptop. If charging starts normally, the charger is probably not the main problem.
Why Is My New Laptop Charger Not Working?
A new charger may fail because it is defective, incompatible, or being used with the wrong cable.
The Connector Fits, but the Specifications Do Not Match
Two chargers may use similar connectors but have different voltage, wattage, or identification systems.
The Laptop Does Not Recognize the Charger
Some laptops communicate with the adapter to confirm its identity and wattage. An unrecognized charger may power the laptop but refuse to charge the battery properly.
The USB-C Power Profile Is Incompatible
A charger can support USB-C without supporting the voltage and wattage profile required by the laptop.
The Cable Is the Limiting Component
A high-wattage USB-C adapter still needs a cable capable of carrying that output.
The Laptop Was the Original Problem
A new charger will not fix a damaged port, failed battery, or defective charging circuit. Test the charger on another compatible device where safe and practical.
USB-C, Barrel Connector, and MagSafe Charging Problems
USB-C Laptop Charger Not Working
Check the following:
- The port supports charging.
- The charger supports USB Power Delivery.
- The wattage meets the laptop requirement.
- The cable supports charging and sufficient power.
- The connector is fully inserted.
- The port contains no debris.
- The charger is connected directly to the laptop.
Barrel Connector Charger Not Working
Inspect for:
- An incorrect plug diameter
- A bent centre pin
- A loose DC jack
- Cable damage near the plug
- Wrong voltage
- An adapter-identification warning
Never force a barrel connector that does not fit smoothly.
MagSafe Charger Not Working
Check the wall outlet, removable AC plug, cable, adapter, MagSafe connector, and laptop port. Remove debris using a dry and non-metal method.
Apple recommends testing the outlet, reconnecting the adapter, restarting the Mac, inspecting the cable, and checking for software updates when a USB-C or MagSafe adapter does not work.
How to Tell Whether the Charger, Battery, or Laptop Is Faulty
Use the following table as a starting point:
| Symptom | Most Likely Area to Check |
|---|---|
| Adapter has no light | Outlet, AC cable, or adapter |
| Adapter light turns off when connected | Charging port, adapter under load, or internal short |
| Laptop works when plugged in but dies when unplugged | Battery |
| Another compatible charger works | Original charger or cable |
| Original charger works with another compatible laptop | Battery, port, or internal laptop hardware |
| Charging works only at an angle | Cable, connector, or charging port |
| Charges while off but not while running | Low wattage or excessive power usage |
| Stops at 60% or 80% | Battery charging limit |
| USB-C charger works in one port only | Other port may not support charging |
| Battery is swollen | Unsafe battery requiring service |
| No compatible charger works | Port, battery, or charging circuit |
| Battery is not detected | Battery connection, driver, firmware, or failed battery |
This table identifies likely causes, not a guaranteed diagnosis. More than one component can fail at the same time.
How to Run Battery and Charger Diagnostics
Generate a Windows Battery Report
Windows can create a battery report showing battery capacity and recent usage.
- Search for Command Prompt.
- Right-click it and select Run as administrator.
- Enter:
powercfg /batteryreport
- Press Enter.
- Open the HTML file at the location shown in Command Prompt.
Review:
- Installed batteries
- Design capacity
- Full charge capacity
- Recent usage
- Battery usage
- Capacity history
A large difference between design capacity and full charge capacity can indicate substantial battery wear. Microsoft documents the battery-report command as a built-in Windows tool for reviewing battery usage and estimated capacity.
Check the Charger in BIOS or UEFI
Some laptops display:
- AC adapter status
- Detected adapter wattage
- Battery health
- Battery charging state
If the adapter appears as Unknown, None, or with the wrong wattage, check the charger, connector, and charging port.
Run Manufacturer Diagnostics
Depending on your laptop, use:
- Dell SupportAssist or ePSA
- HP PC Hardware Diagnostics
- Lenovo Vantage
- MyASUS
- Acer Care Center
- Apple Diagnostics
- Surface app
- Chromebook Diagnostics
HP recommends running HP Battery Check after a hard reset if an HP laptop still does not hold a charge. Google also recommends using Chromebook Diagnostics for battery problems.
Brand-Specific Charging Problems
Dell Laptop Charger Not Working
Check whether BIOS recognizes the AC adapter and displays the correct wattage. Dell chargers with barrel connectors may use a centre identification pin; damage to the cable, plug, port, or identification circuit can trigger an adapter warning.
HP Laptop Charger Not Working
Perform the model-specific hard reset and run HP Battery Check. Also verify that you are using the correct HP adapter and supported charging port.
Lenovo Laptop Charger Not Working
Open Lenovo Vantage and check Conservation Mode or custom charging thresholds. Some Lenovo laptops intentionally stop near 55% or 60% when battery-conservation settings are active.
ASUS or Acer Laptop Charger Not Working
Check the manufacturer’s battery-health utility, charger specifications, BIOS updates, and USB-C charging support. Some models provide charging-limit options designed to reduce battery wear.
MacBook Charger Not Working
Test the power outlet, adapter, charging cable, and USB-C or MagSafe port. Restart the Mac and check Battery settings for optimized charging.
A Mac may display “Not Charging” when charging has been paused to protect the battery, the power source is weak, or current workloads are consuming more power than the adapter supplies.
Chromebook Charger Not Working
Reconnect the charger at both ends, verify the wall outlet, and let the Chromebook charge for at least 30 minutes. If it remains unresponsive, follow Google’s hardware-reset instructions and use the Diagnostics app.
Microsoft Surface Charger Not Working
Check the connector light and inspect the port for debris or damage. A flashing light can indicate a poor connection.
For USB-C charging, use a compatible Power Delivery charger with adequate wattage. Surface Smart Charging may also intentionally stop the battery near 80%.
When Should You Replace the Laptop Charger?
Replace the charger when:
- Its cable is split or frayed.
- Conductive wire is visible.
- The connector is bent or burnt.
- The adapter smells burnt.
- It sparks or crackles.
- It repeatedly becomes excessively hot.
- Charging cuts out when the cable moves.
- It fails on another compatible laptop.
- Another compatible charger works correctly.
- The manufacturer’s diagnostic process identifies an adapter fault.
Do not continue using a damaged charger simply because it still works occasionally.
How to Choose the Correct Replacement Charger
Use the laptop’s full model or product number rather than relying only on the brand name.
Confirm:
- Required output voltage
- Minimum recommended wattage
- Correct connector type
- USB-C Power Delivery compatibility
- Correct cable rating
- Regional wall-plug type
- Manufacturer approval or reliable certification
- Warranty and safety information
A higher-wattage USB-C charger may be acceptable when the laptop manufacturer supports it and the charger negotiates the correct Power Delivery profile. However, an incorrect voltage, unsupported connector, or poorly made charger can be unsafe.
When travelling between the USA, UK, Canada, and Australia, check the adapter’s INPUT label and the destination’s plug requirements. A plug-shape adapter changes the physical connection; it does not automatically convert voltage.
Is a Buzzing, Sparking, or Overheating Charger Dangerous?
A charger may feel warm during normal operation, especially while charging a low battery. It should not become painfully hot, smell burnt, crackle, smoke, or repeatedly spark.
Disconnect the charger immediately when you notice:
- Smoke
- A burning smell
- Melted plastic
- Exposed wiring
- Loud buzzing or crackling
- Repeated sparking
- Extreme heat
- Scorch marks
- Liquid inside the adapter or connector
A very small, brief spark at a wall plug can sometimes occur as electrical contact is made, but repeated or large sparks require attention. Do not keep testing suspicious equipment.
When Should You Contact a Repair Technician?
Seek professional service when:
- The charging port is loose or pushed inward.
- The charger light turns off whenever it is connected.
- Several compatible chargers fail.
- The laptop has liquid damage.
- The laptop or connector becomes extremely hot.
- There is a burning smell or visible scorching.
- The battery is swollen.
- The laptop does not detect the battery.
- Charging starts only when the connector is held at an angle.
- BIOS does not recognize a verified adapter.
- The laptop remains completely dead after basic checks.
- The motherboard charging circuit may be damaged.
Back up important data before repair whenever the laptop can still turn on.
How to Prevent Laptop Charger Problems
A few habits can extend the life of both the charger and charging port:
- Pull the charger by its plug, not its cable.
- Avoid wrapping the cable tightly around the adapter.
- Do not bend the cable sharply near either end.
- Keep the adapter away from liquids.
- Keep charging ports free of dust.
- Use the correct charger wattage.
- Avoid unsupported replacement chargers.
- Place the adapter where heat can escape.
- Do not carry the laptop with the charger connected.
- Keep heavy objects away from the cable.
- Use reliable surge protection where electrical supply is unstable.
- Store the charger in a separate bag compartment.
- Disconnect damaged equipment immediately.
Frequently Asked Questions
Why Did My Laptop Charger Suddenly Stop Working?
The outlet may have lost power, a connection may have come loose, or the charger may have failed after physical damage, heat, age, or a power surge. Test another outlet and inspect the charger before assuming the laptop is faulty.
Why Is My Laptop Plugged In but Not Charging?
The most common causes are a battery charging limit, insufficient wattage, an incompatible charger, a degraded battery, high battery temperature, or a driver or firmware issue.
How Do I Know Whether My Laptop Charger Is Broken?
Test it with another compatible laptop or test your laptop with another known-compatible charger. Physical damage, unstable charging, excessive heat, unusual sounds, and failure on another device all point toward a faulty charger.
Can a Laptop Charger Fail Without Visible Damage?
Yes. Wires, adapter components, and connector pins can fail internally while the exterior still looks normal.
Why Does My Laptop Charger Work Only at a Certain Angle?
The cable, connector, or laptop port probably has a damaged or loose internal connection. Stop bending the cable and arrange replacement or repair.
Why Is My Laptop Charging Light Not Turning On?
The outlet, AC cable, adapter, connector, charging port, or internal power circuit may have failed. Test the outlet and reconnect the charger first.
Can I Charge My Laptop With a Phone Charger?
Only when the laptop supports USB-C charging and the phone charger provides a compatible Power Delivery profile and sufficient wattage. Many phone chargers are too weak for laptops.
Why Does My Laptop Charge When Turned Off but Not When It Is On?
The charger may not provide enough power to operate the laptop and charge the battery simultaneously. A high workload, weak adapter, under-rated cable, or power-limited dock can cause this.
Why Does My Laptop Stop Charging at 80%?
Smart Charging, Adaptive Charging, Optimized Charging, or a manufacturer battery limit may be active. This is often intentional and designed to reduce battery wear.
Can a Bad Battery Make the Charger Look Broken?
Yes. The laptop may detect the charger but fail to increase the battery percentage. A severely degraded battery may also prevent the laptop from staying on after it is unplugged.
Can I Use a Higher-Wattage Laptop Charger?
A higher-wattage charger can be suitable when it is approved for the laptop and matches the required voltage, connector, and charging protocol. Compatibility matters more than the wattage number alone.
Is a Universal Laptop Charger Safe?
A reliable universal charger can work when it has the correct electrical specifications and connector. Incorrect settings, poor-quality components, or an unsuitable tip can damage the laptop.
Why Is My Laptop Charger Getting Hot?
Power adapters naturally produce some heat. Excessive heat may indicate poor ventilation, overloading, internal damage, or a failing adapter. Disconnect it if it becomes unusually hot or produces a burning smell.
Why Is My Battery Percentage Not Increasing?
The charger may be underpowered, the laptop may be consuming too much power, a charge limit may be active, or the battery may be failing. Check charger wattage and battery settings first.
Why Does the Charger Light Blink?
A blinking light may indicate a poor connection, debris, adapter fault, or model-specific status. Check the manufacturer’s documentation because indicator meanings differ between laptops.
How Much Does a Laptop Charging-Port Repair Cost?
The price depends on the laptop model, port type, damage, parts availability, labour rates, and whether the port is on a separate board or soldered to the motherboard. Request a diagnosis before approving the repair.
Final Troubleshooting Checklist
Before replacing anything, confirm that you have:
- Tested another wall outlet
- Removed the dock, hub, and extension lead
- Reconnected every charger component
- Inspected the cable and adapter
- Checked and cleaned the charging port
- Used the correct USB-C port
- Confirmed charger wattage and compatibility
- Allowed a drained battery time to charge
- Restarted or power-reset the laptop
- Checked battery charging limits
- Installed official updates
- Run battery diagnostics
- Tested a known-compatible charger
If another compatible charger works, replace the original charger. If no compatible charger works, the battery, charging port, or internal charging circuit probably needs professional inspection.
A charger that sparks, smells burnt, has exposed wiring, or makes the laptop unusually hot should be disconnected immediately. Solving a charging problem is important, but using damaged electrical equipment is never worth the risk.

“Electronics aren’t just gadgets. They’re the invisible threads that connect our work, our play, and our world.”
I’m Julian Reed, and my obsession with tech started at age twelve, when I soldered a defunct gaming console back to life in my bedroom. That tiny green screen taught me that technology isn’t just a black box, it’s a tool you can master.
After fifteen years as a hardware engineer and a decade reviewing consumer tech, I’ve joined this team to cut through the jargon. Whether you’re building a high-end home theater or just need a laptop that won’t lag, I’m here to help you choose the gear that truly powers your life.