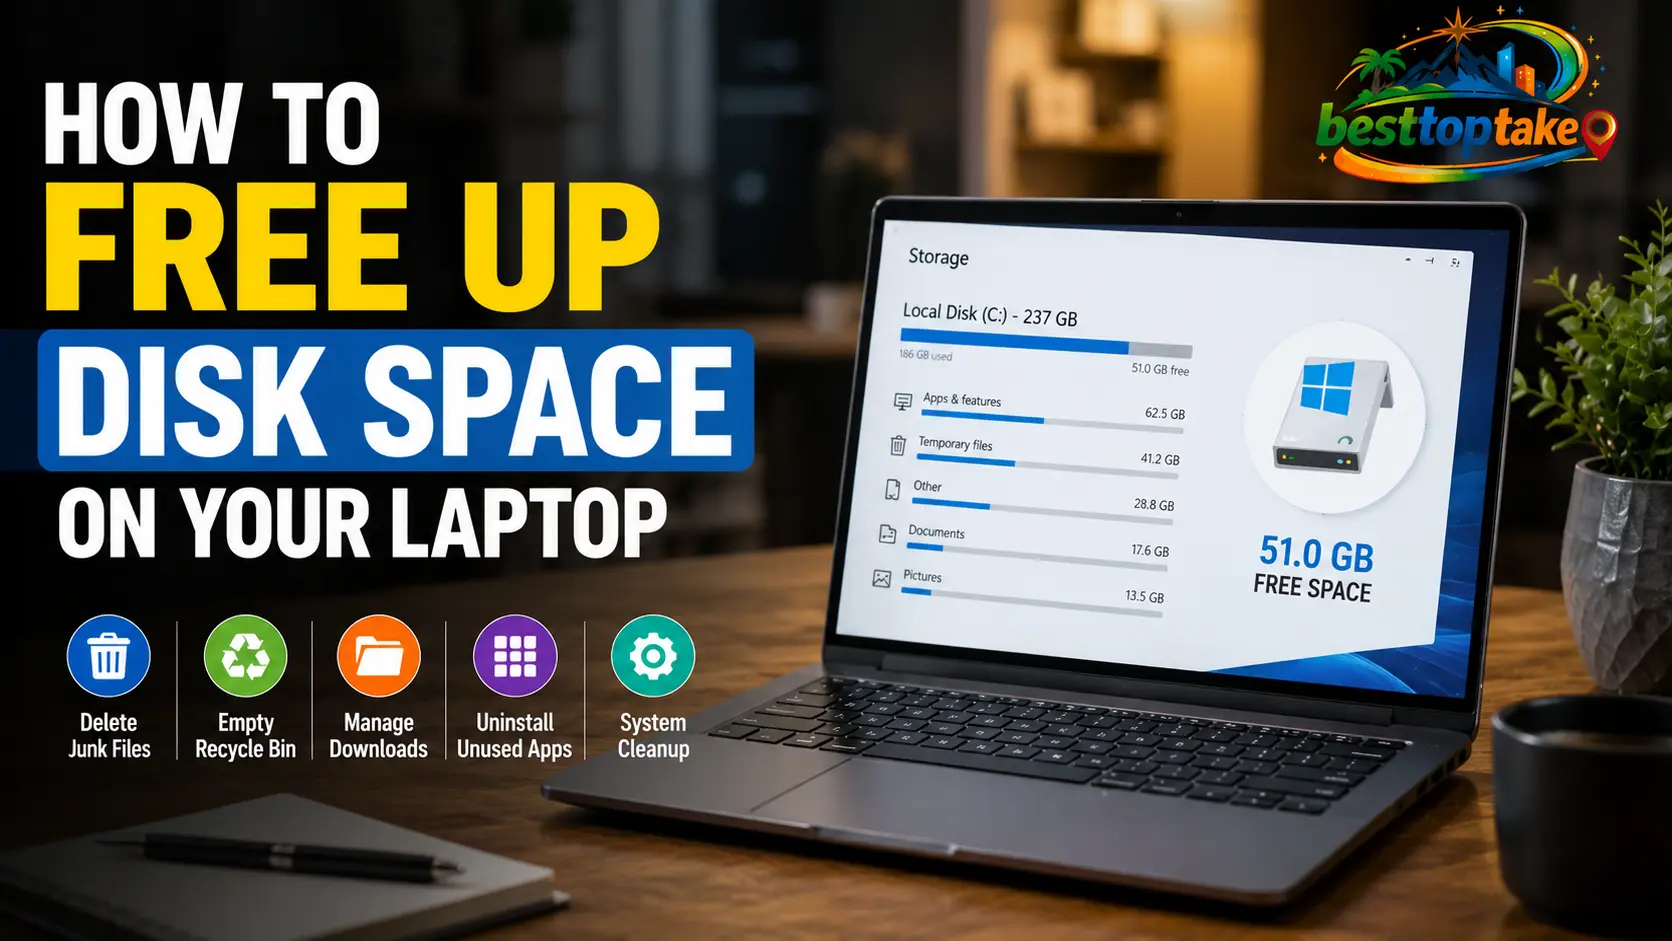
The fastest ways to free up disk space on a laptop are: run Disk Cleanup (Windows) or Optimize Storage (Mac), uninstall unused apps, delete temporary files, empty the Recycle Bin or Trash, and move large files like videos and photos to an external drive or cloud storage. Most users can recover 5–20 GB within 30 minutes using these steps alone.
Is your laptop crawling to a halt, throwing “low disk space” warnings, or refusing to install updates? You’re not alone. Storage fills up faster than most people expect and when it does, your entire system slows down. The good news: you can reclaim gigabytes of space in under an hour, without deleting anything you actually care about.
This guide walks you through every method from quick wins to deep-clean strategies for both Windows and Mac laptops.
Why Your Laptop Runs Out of Disk Space
Your laptop’s storage doesn’t just fill up from files you intentionally save. The real culprits are often invisible:
- Temporary files created by Windows, apps, and browsers accumulate silently over months
- System restore points and old update files can consume several gigabytes
- Duplicate photos and downloads pile up in folders you rarely open
- App caches — especially from browsers, Spotify, and creative tools — balloon over time
- Hibernation files (on Windows) can take up space equal to your RAM size
Understanding this is important because it means you can recover significant storage without touching a single personal file.
How to Check Your Available Disk Space
Before you start cleaning, know what you’re working with.
On Windows:
- Open File Explorer
- Click This PC in the left sidebar
- You’ll see each drive with a visual bar showing used vs. available space
On Mac:
- Click the Apple menu → About This Mac
- Select the Storage tab
- A colour-coded bar shows what’s using your space (apps, documents, system, etc.)
If you have less than 10–15% free space on your main drive, performance will noticeably suffer. SSDs in particular can slow down significantly when nearly full.
Free Up Disk Space on Windows
Run Disk Cleanup
Disk Cleanup is Windows’ built-in tool for removing junk files safely. Here’s how to use it:
- Type “Disk Cleanup” in the Windows search bar and open it
- Select your C: drive and click OK
- Check all the boxes (Temporary Files, Recycle Bin, Thumbnails, etc.)
- Click “Clean up system files” for even more options — this can remove old Windows Update files that sometimes take 3–10 GB alone
- Click OK → Delete Files
This is one of the safest and most effective first steps.
Use Storage Sense
Storage Sense is a smarter, automated version of Disk Cleanup built into Windows 10 and 11.
- Go to Settings → System → Storage
- Toggle Storage Sense to On
- Click “Configure Storage Sense or run it now”
- Set it to automatically delete temporary files and empty the Recycle Bin after 30 days
- Scroll down and click “Run Storage Sense now” for an immediate clean
You can also configure it to automatically move files from your Downloads folder to the Recycle Bin after a set number of days — great for keeping that folder from bloating.
Uninstall Apps You Don’t Use
Unused apps are often the biggest hidden space hogs.
- Go to Settings → Apps → Installed Apps (Windows 11) or Apps & Features (Windows 10)
- Sort by Size to see the largest apps at the top
- Click any app you no longer need and select Uninstall
Pay special attention to old games, trial software, and manufacturer bloatware that came pre-installed on your laptop — these can easily take up 10–30 GB.
Delete Temporary Files Manually
For a deeper clean beyond what Disk Cleanup catches:
- Press Windows + R, type
%temp%, and hit Enter - Select all files (Ctrl + A) and delete them
- Skip any files that say they’re in use — that’s fine
- Repeat with
temp(without the %) in the Run dialog for system temp files
This regularly frees up 1–5 GB depending on how long it’s been since you last cleaned.
Clear the Recycle Bin
It sounds obvious, but the Recycle Bin can quietly hold gigabytes of deleted files. Right-click the Recycle Bin icon on your desktop and select “Empty Recycle Bin”. Done.
Move Files to an External Drive or Cloud
If you have large video files, old project folders, or a huge photo library, the best long-term solution is moving them off your main drive entirely.
- External SSD or HDD: A 1TB external drive costs as little as $50–$60 and keeps your files accessible
- Cloud storage: Google Drive, OneDrive, or iCloud can store files in the cloud and remove the local copy from your laptop (look for “Files On-Demand” or “Optimize Storage” settings)
According to PCMag’s guide to laptop storage management, offloading media files to cloud storage is one of the most effective long-term strategies for laptops with smaller SSDs.
Free Up Disk Space on Mac
Use Built-In Storage Recommendations
Apple makes this easy with their built-in storage tools:
- Click Apple menu → About This Mac → Storage → Manage
- You’ll see four recommendations at the top:
- Store in iCloud — offloads files, photos, and messages you don’t access often
- Optimize Storage — removes already-watched TV shows and movie downloads
- Empty Trash Automatically — deletes items that have been in Trash for 30+ days
- Reduce Clutter — shows large files and downloads you can review and delete
Work through each of these recommendations — they’re safe and targeted.
Empty the Trash
Just like Windows, your Mac’s Trash holds deleted files until you manually empty it.
Right-click the Trash icon in your Dock and click “Empty Trash”. If you haven’t done this in a while, you might be surprised how much space is sitting there.
Remove Large and Duplicate Files
In the Manage Storage window (see above), click on “Documents” and then “Large Files” to see everything sorted by size. This is one of the fastest ways to identify space hogs — old disk images (.dmg files), ZIP archives, and large video exports are common culprits.
For finding duplicates, free tools like Gemini 2 or dupeGuru scan your library and flag identical files.
Clear App Caches
App caches are temporary files that apps store to load faster. Over time they can grow significantly — especially for browsers, Spotify, and creative apps like Adobe products.
- Open Finder → click Go in the menu bar → Go to Folder
- Type
~/Library/Cachesand press Enter - Review the folders by size and delete the contents of caches from apps you use regularly (leave the folders themselves intact)
Important: Don’t delete caches for apps that are currently running. Quit the app first.
Advanced Tips to Reclaim Even More Space
Once you’ve done the basics, here are some less obvious ways to go deeper:
Compress old files. Right-click any folder in Windows and select “Send to → Compressed (zipped) folder” for archives you rarely open but want to keep.
Disable hibernation (Windows). If your laptop has plenty of RAM, the hibernation file (hiberfil.sys) can be safely disabled. Open Command Prompt as Administrator and type: powercfg /hibernate off. This can instantly free up 4–16 GB depending on your RAM.
Delete Windows.old folder. After a major Windows upgrade, Windows keeps your old installation in a folder called Windows.old for 30 days. Disk Cleanup → “Clean up system files” → “Previous Windows installation(s)” removes it safely.
Use WinDirStat (Windows) or DaisyDisk (Mac). These free tools create a visual map of everything on your drive — great for spotting unexpected large folders at a glance.
Uninstall browser extensions that cache heavily. Some extensions (especially ad-blockers with large filter lists or download managers) can accumulate significant cached data over time.
FAQ
How do I free up disk space on my laptop quickly?
The fastest way is to run Disk Cleanup on Windows or use Manage Storage on Mac, then empty your Recycle Bin or Trash, and uninstall any apps you no longer use. Most users recover 5–15 GB within 20–30 minutes using just these steps. If you need more space, move large video or photo files to an external drive or cloud storage.
Why is my laptop saying low disk space even after deleting files?
The most common reason is that deleted files are sitting in your Recycle Bin or Trash and haven’t been permanently removed yet. Empty those first. If that doesn’t help, check for large temporary files, old Windows Update leftovers, or app caches — these aren’t deleted when you remove a file manually and require specific cleanup tools to remove safely.
How much free disk space should a laptop have?
As a general rule, you should keep at least 10–15% of your total drive capacity free. On a 256 GB SSD, that means keeping at least 25–38 GB available. Below this threshold, both Windows and macOS start to perform significantly slower because they need free space to create temporary working files and virtual memory.
Is it safe to delete temporary files on my laptop?
Yes — temporary files are designed to be disposable. Windows and Mac operating systems create them automatically, and deleting them causes no harm to your system or personal data. If a temp file is still in use by a running program, the system will simply skip it.
Conclusion
Running out of disk space on your laptop doesn’t mean you need to buy a new one or upgrade your drive right away. In most cases, freeing up disk space is a matter of running the right cleanup tools, removing apps you’ve forgotten about, and moving large files somewhere smarter.
Start with the quick wins — Disk Cleanup or Mac’s Manage Storage, empty the Recycle Bin, and uninstall unused apps. Then work through the deeper steps as needed. If you’ve done all of this and still find yourself tight on storage, it may be time to consider a cloud storage plan or an affordable external drive.
Got a tip that worked for you, or still struggling with a specific issue? Drop a comment below — or explore our related guides on [how to speed up a slow laptop] and [best external hard drives for laptops in 2025].

“Electronics aren’t just gadgets. They’re the invisible threads that connect our work, our play, and our world.”
I’m Julian Reed, and my obsession with tech started at age twelve, when I soldered a defunct gaming console back to life in my bedroom. That tiny green screen taught me that technology isn’t just a black box, it’s a tool you can master.
After fifteen years as a hardware engineer and a decade reviewing consumer tech, I’ve joined this team to cut through the jargon. Whether you’re building a high-end home theater or just need a laptop that won’t lag, I’m here to help you choose the gear that truly powers your life.